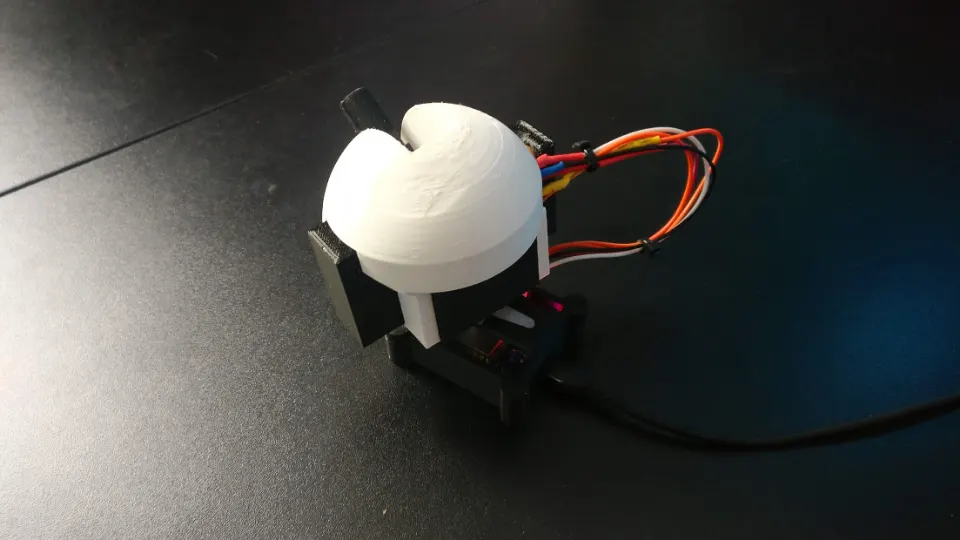

A laser turret you control with your mouse
In this post I explain how I built a laser turret that I steer remotely with my mouse. A fun toy for a cat or dog, for example.
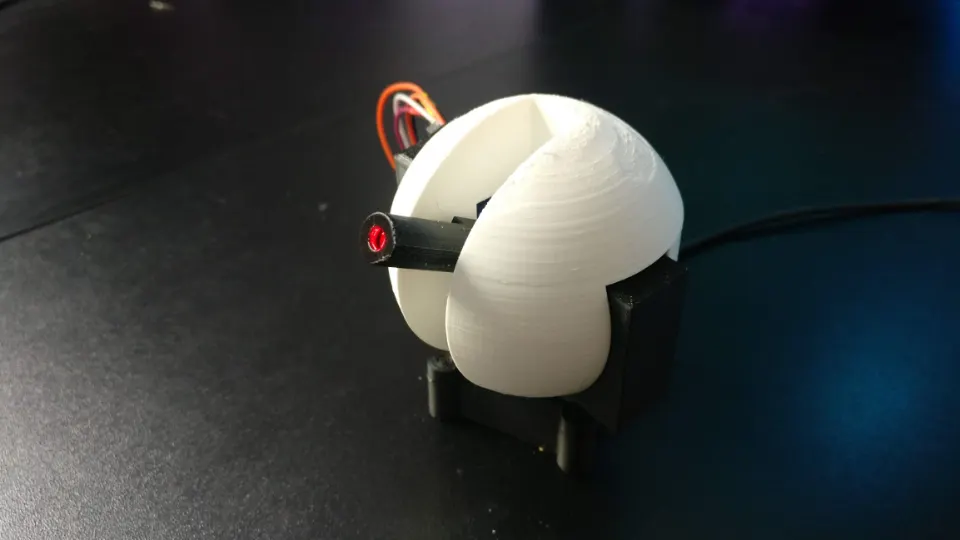
What you need
- An ESP32 board (Wemos D1 mini)
- A 3V laser
- Two SG90 servo motors
- A few jumper wires
Software
To steer the turret with your mouse over a socket connection, you need a server and a client. The server is the turret itself. The client, in this case, is a web page with a PHP script. All the code is in the download at the end of this post.
Firmware
The turret is driven by a small microcontroller with Wi-Fi. An ESP8266 works too, but the ESP32 is a little faster and also has Bluetooth. I wrote the firmware in PlatformIO, but any other development environment will do.
To connect the turret to your Wi-Fi, change these lines in main.cpp:
const char* ssid     = "SSID";
const char* password = "Password";
Fill in your Wi-Fi network name and password. Once you flash the firmware to the ESP32, it connects to your Wi-Fi and prints its IP address to the serial monitor. It then waits for incoming socket connections on port 80.
When a client connects, the ESP32 waits for a command ending in @. A
command looks like this:
xCoords/yCoords/Speed/Laser@- xCoords: the position of the horizontal servo (0 to 180)
- yCoords: the position of the vertical servo (0 to 180)
- Speed: how fast the turret moves (0 to 100)
- Laser: 1 is on, 0 is off
The @ marks the end of the command. Without it, the server doesn’t know the
whole message has arrived.
The control page
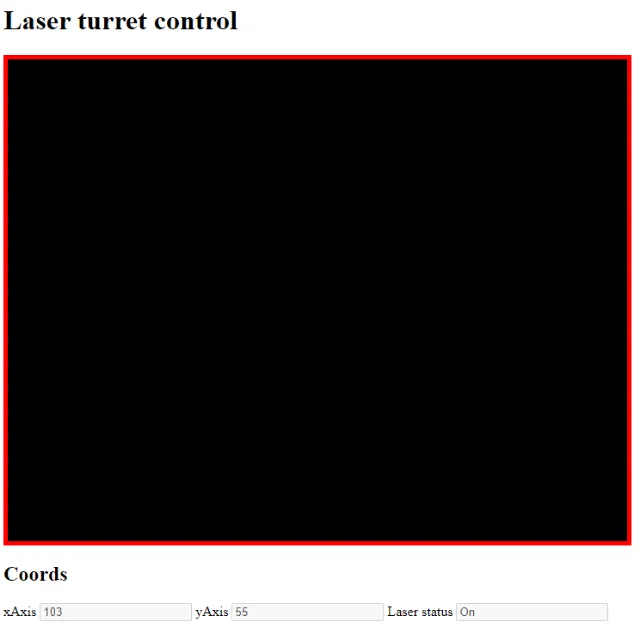
For the client, I made a web page with JavaScript. It sends the position of your mouse inside a black area to the turret with an AJAX request. There are other ways to talk to the ESP32 too, such as a Python script on a Raspberry Pi.
index.php is the page with the black area. turretComm.php is
the script that talks to the ESP32. Put both files on a web server; that can be a real
server, or a local WAMP setup on Windows.
On line 32 of index.php you’ll find:
var turretCommURL = "URL_TO_TURRET_COMM";Replace this with the URL of turretComm.php on your web server.
In turretComm.php, these lines need to match your ESP32:
$port = 80;
$ip = 'IP_ADDRESS_TURRET';
The port is 80 by default; if you changed it in the firmware, change it here too.
Replace IP_ADDRESS_TURRET with the ESP32’s IP address, keeping the quotes.
Then open index.php and you’re in control. Every 25 milliseconds, your
mouse position is sent to the turret.
Enclosure
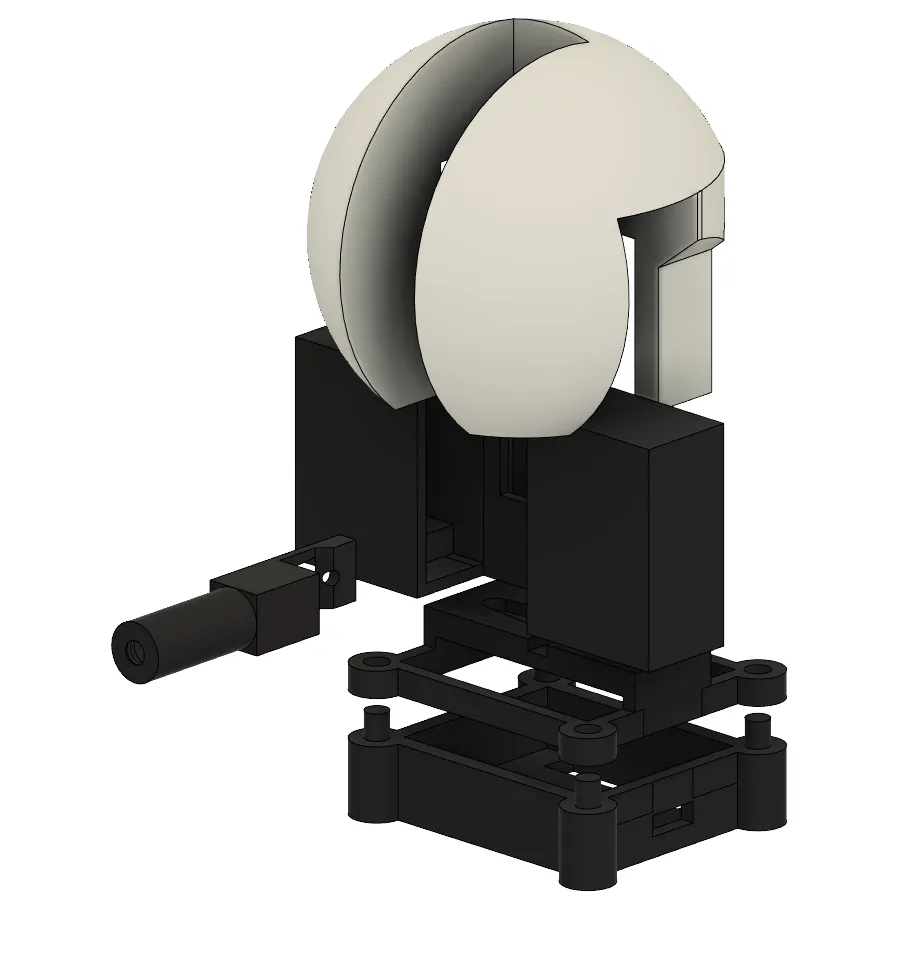
I printed the enclosure in black and white PLA, but other materials work too. The STL files are in the download.
I fixed the ESP32 and the laser in place with hot glue. You can screw the servos into the screw holes, but they already clamp quite firmly into the plastic.
Electronics
Connect the servos and the laser to the ESP32 like this:
- Horizontal servo: red → 5V, black → GND, orange → GPIO4
- Vertical servo: red → 5V, black → GND, orange → GPIO2
- Laser: red → GPIO27, black → GND